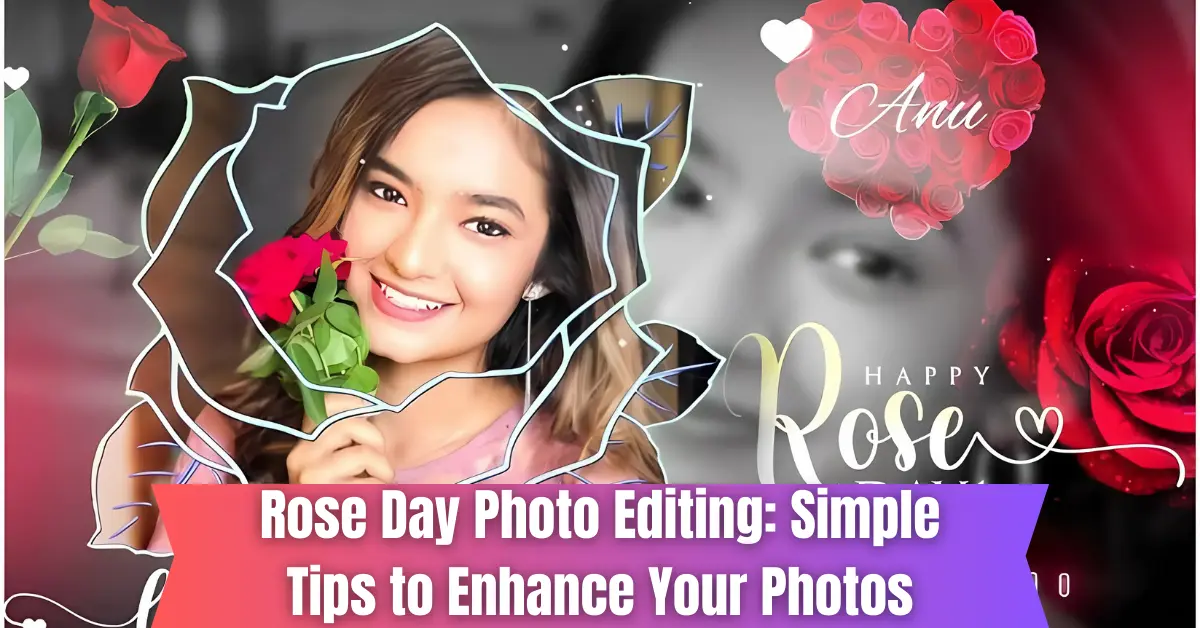
Are you struggling to make your Rose Day photos stand out? With so many photo editing tools and techniques available, it can be overwhelming to know where to start. But don’t worry! Rose Day photo editing doesn’t have to be complicated. In fact, with just a few simple adjustments, you can enhance your photos and turn them into stunning, romantic visuals that will wow your loved ones.
Rose Day is all about spreading love and joy, and what better way to make your celebration even more special than with a beautifully edited photo? Rose Day photo editing is the perfect way to add a personal touch to your memories, whether it’s for a gift or sharing on social media.
By simply adjusting colors, adding meaningful text, or using fun filters, you can turn a simple photo into a heartfelt piece of art. If you’re wondering how to make your Rose Day photos truly stand out, don’t worry – Rose Day photo editing is easier than you think, and we’ll show you how to get started!
Why Edit Photos for Rose Day?
Editing your photos for Rose Day can help make them more memorable and meaningful. It’s a great way to capture the emotions of the day and personalize your pictures in a way that reflects your love and affection. Let’s explore how simple photo edits can make a big difference.

Making Your Photos Stand Out
- Small edits can bring out the beauty of your Rose Day photos, making them more eye-catching.
- Adjusting brightness and contrast can help the colors pop, especially in pictures of roses or flowers.
- Cropping out distractions in the background lets the subject of your photo stand out more.
- Adding a soft filter can give your photo a dreamy or romantic feel, perfect for the occasion.
Personalizing Photos
- Adding love quotes or heartfelt messages can make your photo more personal and meaningful.
- You can use frames that reflect the Rose Day theme, like floral designs or heart-shaped borders.
- Filters with warm or romantic tones (like pink or red hues) give the photo a Rose Day vibe.
- Stickers and emojis, like roses or love hearts, add a playful touch and enhance the celebration.
Sharing on Social Media
- Edited photos are perfect for sharing on platforms like Instagram, Facebook, and WhatsApp.
- Photos with love quotes or creative filters are more likely to get attention and engagement from friends and followers.
- Sharing edited pictures allows you to express your emotions and spread the love of Rose Day.
- Whether it’s a selfie with a rose or a photo of a gift, edited photos make your social media posts stand out and feel special.
Essential Tools for Rose Day Photo Editing
When it comes to editing your Rose Day photos, the right tools can make all the difference. Whether you’re new to photo editing or looking for something easy to use, there are plenty of tools out there to help you create stunning images.
Best Apps and Software for Beginners
These apps and software are perfect for people who are just starting out with photo editing, and they come with easy-to-use features.
- Canva
- Canva offers a wide range of ready-made templates perfect for Rose Day.
- It has drag-and-drop features that make photo editing super simple.
- You can add text, stickers, and frames with ease, making it a popular choice for beginners.
- Snapseed
- Snapseed is a great mobile app that lets you edit photos with simple adjustments.
- It has various filters and tools for fine-tuning brightness, contrast, and colors.
- Its “healing” tool helps you remove unwanted objects from your photos.
- Adobe Photoshop Express
- This app offers easy-to-use tools for basic photo editing.
- It includes features like cropping, rotating, and applying filters.
- You can also adjust the exposure, highlights, and shadows with just a few clicks.
What Makes These Tools Easy to Use?
These tools are designed to be beginner-friendly, helping you create beautiful photos with minimal effort.
- Drag-and-Drop Features
- Most apps like Canva allow you to simply drag and drop elements (like text or images) into your photo, making it quick and easy to create designs.
- Simple Filters
- Tools like Snapseed come with built-in filters that change the look of your photo with just one tap, so you don’t have to worry about complex adjustments.
- Ready-Made Templates
- Apps like Canva offer templates specifically designed for occasions like Rose Day. You can just select a template and customize it with your photo, making the editing process faster.
- Intuitive User Interface
- Most beginner apps are easy to navigate, with clear icons and step-by-step instructions that make editing simple and fun.
Free vs Paid Tools
There are both free and paid photo editing tools available. Let’s explore the differences.
- Free Tools
- Canva (Free Version): Offers a lot of features at no cost, including templates, text, and basic photo editing tools.
- Snapseed: Completely free with all the basic editing tools you need to enhance your Rose Day photos.
- Pixlr: A free online tool with a simple interface for beginners.
- Paid Tools
- Canva Pro: While the free version is great, Canva Pro offers extra features like more templates, premium images, and a background remover.
- Adobe Photoshop Express Premium: The free version is good for basic edits, but the premium version unlocks more advanced tools and filters.
- Which Should You Choose?
- If you’re just starting out, free tools are a great way to begin without any commitment.
- As you get more comfortable, you might consider upgrading to a paid version to unlock more features and expand your creativity.
Basic Rose Day Photo Editing Techniques
Photo editing is a fun way to enhance your Rose Day photos and make them extra special. Below are some easy techniques to help you get started with basic editing that can make a big difference.
Adjusting Brightness and Contrast
Adjusting brightness and contrast helps make your photos more vibrant and lively. It’s perfect for bringing out the colors in your Rose Day photos.
- Brightness: Increases or decreases the light in your photo, making it brighter or darker.
- Contrast: Changes the difference between light and dark areas, helping colors stand out.
- How to Adjust: Use simple sliders to adjust brightness and contrast. A little tweak can make your photo pop.
Example:
If you have a photo of a red rose, increasing the brightness will help it look brighter, while adjusting the contrast can make the red color more intense, making the rose more eye-catching.
Applying Filters
Filters can instantly change the mood of your photo, giving it a warm, romantic, or artistic feel.
- Warm Filters: Apply warm tones like red, pink, or orange for a cozy, romantic vibe perfect for Rose Day.
- Soft Filters: Choose soft, pastel filters to add a dreamy or vintage look.
- How to Apply: Most apps offer a variety of filters. Simply select one that fits your desired effect.
Example:
A soft pink filter can give a gentle and romantic touch to your photo, matching the Rose Day theme of love and warmth.
Cropping and Resizing
Cropping and resizing help you focus on the most important part of your photo and make sure it’s perfectly sized for sharing online.
- Cropping: Cut out unwanted parts of your photo to focus on the main subject (like a rose or couple).
- Resizing: Adjust the size of your photo to fit social media platforms like Instagram or Facebook.
- How to Crop: Select the crop tool in your editing app, and choose the area you want to keep.
Example:
If there’s unnecessary background clutter in your photo, cropping it out can make the rose the center of attention. Resizing it for Instagram will ensure it looks great when you post it!
Adding Text and Quotes
Adding text to your photos is a great way to personalize them with sweet messages or love quotes.
- Love Quotes: Add romantic or heartfelt quotes that match the theme of Rose Day.
- Text Style: Choose fonts that reflect the mood, like cursive or handwritten styles.
- How to Add: After selecting the text tool, type your message and adjust its size and position.
Example:
Add a simple but meaningful quote like “Love is in the air” or “Happy Rose Day” to your photo. This adds a personal and festive touch to the image.
Using Frames and Stickers
Frames and stickers can make your Rose Day photo look more playful and festive. You can add frames that match the theme or cute stickers to enhance the romantic feel.
- Frames: Add floral or heart-shaped frames to surround your photo and make it more eye-catching.
- Stickers: Choose stickers like roses, hearts, or love-themed emojis to make the photo fun and festive.
- How to Add: Most apps let you drag and drop stickers and frames into your photo, making it simple to add extra flair.
Example:
Adding a heart-shaped frame or a cute rose sticker can make your Rose Day photo feel more celebratory and cheerful.
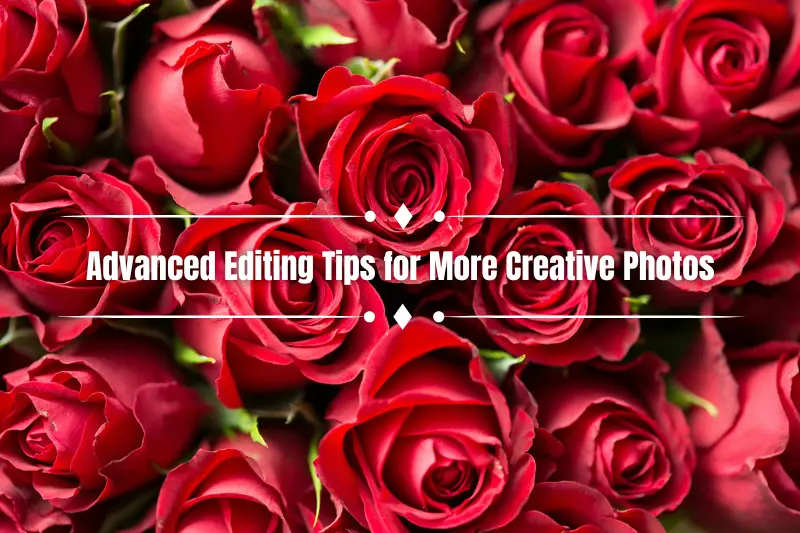
Advanced Editing Tips for More Creative Photos
If you’re looking to take your Rose Day photo editing to the next level, advanced techniques like background blurring, creating collages, and double exposure can help you create truly stunning and artistic images.
Blurring the Background
Blurring the background is a great way to keep the focus on your subject, like a beautiful rose or a couple. This technique makes your subject stand out more and creates a professional look.
- Focus on the Subject: Blur the background to make the main subject of your photo pop.
- Depth of Field: This technique mimics the effect of using a camera with a shallow depth of field, making the subject clearer and sharper.
- How to Apply: Most apps have a “blur” or “lens blur” tool where you can adjust the strength of the effect.
Example:
If you have a photo of a rose, blurring the background can make the rose stand out more, allowing it to be the center of attention while giving the photo a soft, dreamy effect.
Creating Collages
Collages are a fun and creative way to combine multiple photos into one. For Rose Day, you can create a collage that tells a beautiful story of love.
- Combine Multiple Photos: A collage allows you to showcase more than one moment from Rose Day in a single image.
- Themes: Choose photos that reflect the spirit of Rose Day, such as roses, chocolates, love messages, and gifts.
- How to Create: Use a collage maker tool in an editing app where you can select different photos and place them in a grid or unique layout.
Example:
You can create a Rose Day collage with pictures of roses, chocolates, and a handwritten love message, all placed together in a beautiful layout to capture the essence of the day.
Using Double Exposure for Artistic Effect
Double exposure is a creative technique that combines two images to create a unique, dreamy effect. It’s perfect for adding an artistic twist to your Rose Day photos.
- What is Double Exposure?: It combines two photos into one, with one image partially visible over the other. This creates a surreal or artistic look.
- How to Apply: Choose two photos—one could be a picture of a rose, and the other could be a romantic image like a heart or sunset. Overlay one image onto the other, adjusting the opacity to make both visible.
- Ideal for Artistic Photos: This technique works well for creating dreamy, romantic photos that capture the spirit of Rose Day in an artistic way.
Example:
Imagine combining a photo of a rose with a heart-shaped overlay to create a stunning, dreamlike effect that symbolizes love and affection, perfect for Rose Day.
Real-Life Examples of Rose Day Photo Editing
Seeing the impact of photo edits can inspire you to try these techniques on your own Rose Day photos. Below, we’ll explore simple before-and-after examples and share a user story about someone who used editing to create a memorable Rose Day surprise.
Before and After
This section shows the powerful difference photo editing can make in transforming your Rose Day images.
- Before and After Comparison: The before photo might be dull or lacking focus, while the after edit will be bright, vibrant, and full of life.
- Simple Edits: A few quick adjustments like brightening the photo, adding a filter, or including a text overlay can turn a simple image into something magical.
- Shows the Power of Small Changes: Even small edits can make a huge difference and bring out the full potential of your photo.
Example:
Before editing, you may have a plain photo of a rose that looks dull or washed out. After applying a vibrant filter, adjusting the brightness, and adding a love quote like “Love Blooms Here,” the photo becomes more lively and perfect for sharing on Rose Day.
User Stories or Testimonials
Real stories from people who used Rose Day photo editing to surprise their loved ones can inspire you to get creative with your own edits.
- Real-Life Story: Learn how others have used editing to make their Rose Day celebrations even more special.
- Creative Surprises: Editing photos can be a thoughtful, personal way to surprise someone with a meaningful gift.
- Simple Ideas for Big Impact: Editing doesn’t have to be complicated to be effective. Even simple edits can create unforgettable moments.
Example:
One user shared how they surprised their partner with a custom Rose Day photo. They took a photo of a red rose, added a soft pink filter, and included the text “Forever Yours” at the bottom. This simple edit turned an ordinary photo into a romantic keepsake. Their partner was so touched that they shared the edited photo on social media, with many of their friends commenting on how creative it was.
Common Mistakes to Avoid in Rose Day Photo Editing
When editing your Rose Day photos, it’s important to avoid certain mistakes that can ruin the overall effect. By steering clear of these common errors, you can ensure your photos look polished, beautiful, and professional.
Over-Editing
Over-editing occurs when you apply too many filters or effects, making the photo look unnatural or overly altered.
- Too Many Filters: Using multiple filters can make the photo look fake or overly saturated.
- Excessive Effects: Adding too many effects, such as blurring or text, can distract from the main subject of the photo.
- Balance Is Key: Keep it simple and avoid going overboard with filters or edits to maintain a natural look.
Example:
If you apply a strong filter and then add a heavy vignette, your photo might look overdone, making the vibrant rose look less natural and more artificial.
Ignoring the Theme
Rose Day is all about love, warmth, and affection, so it’s important to keep the theme consistent in your photo edits.
- Stay True to the Theme: Use romantic colors like red, pink, or soft pastels to match the spirit of Rose Day.
- Matching Text and Stickers: Use love-themed text or stickers, like hearts or flowers, to add to the festive mood.
- Avoid Distracting Elements: Don’t add elements that are out of place, such as bright neon colors or unrelated stickers, as it can break the romantic atmosphere.
Example:
If your photo is of a red rose, but you use a neon green background or cartoonish stickers, it may distract from the loving vibe of the photo and make it feel out of place for Rose Day.
Poor Resolution
Using low-resolution images for editing can result in blurry, pixelated photos that don’t look good when shared or printed.
- High-Resolution Photos: Always start with a high-resolution image to ensure the final product is sharp and clear.
- Blurry Edits: Low-resolution images can lose detail when edited, making the final picture look unprofessional.
- Check Before You Edit: Before starting your Rose Day photo editing, check the resolution to ensure it’s suitable for sharing.
Example:
If you try to enlarge a small, low-resolution photo of a rose, it may appear blurry and pixelated when you post it on social media, which can make it less appealing to others.
Conclusion
So guys, in this article, we’ve covered Rose Day photo editing in detail. Whether you’re looking to brighten up your photos, add a heartfelt quote, or experiment with advanced techniques, the key is to keep it simple and true to the spirit of love.
I personally recommend starting with free tools like Canva or Snapseed if you’re new to editing – they’re easy to use and offer plenty of creative options. Now, it’s your turn! Try editing your own Rose Day photos and share them with someone special. Don’t forget to tag your creations on social media and spread the love!
Frequently Asked Questions (FAQs)
What is the best app for Rose Day photo editing?
For beginners, Canva and Snapseed are great options. Both offer easy-to-use features like filters, text, and templates. If you’re looking for something simple and free, these apps are perfect for enhancing your Rose Day photos.
How can I make my Rose Day photo more romantic?
You can add soft filters, use warm tones like pink or red, and include romantic text. Adding love quotes or small heart stickers can also make your photo feel more festive. Simple adjustments can create a cozy, loving atmosphere.
How do I add text to my Rose Day photo?
Open your photo in an editing app like Canva, and select the “Text” option. Choose your font style and size, then type your message, like “Happy Rose Day.” You can move the text around to find the perfect position.
What should I do if my photo looks too dark?
Increase the brightness in your editing tool until it looks clearer. You can also adjust the contrast to make colors pop. Be careful not to overdo it, as it can make the photo look unnatural.
Can I edit my Rose Day photos on my phone?
Yes! Apps like Snapseed and Canva work perfectly on mobile devices. You can edit your photos directly on your phone and share them instantly on social media.
Is it possible to fix a blurry photo?
While photo editing apps have some tools to sharpen blurry photos, the quality might still be limited. For the best results, always start with a high-resolution image. However, you can try apps like Snapseed to improve sharpness.
What size should my Rose Day photo be for social media?
For platforms like Instagram, aim for square images (1080x1080px). If you’re posting to Facebook, a 1200x630px photo is ideal. Always check the platform’s recommended size to ensure your photo looks great when shared.
How can I make a collage for Rose Day?
Use apps like Canva or Fotor to create a collage. Simply choose a template, upload your Rose Day photos, and arrange them in a layout. These apps make it easy to create a beautiful collage in just a few steps.